1. Preparing the Skin and the Laser Device
Before you start zapping away unwanted hair with your Aopvui laser hair removal device, you need to prep. Think of it like getting your skin ready for a mini spa treatment. First, make sure your skin is clean. This means no lotions, oils, or makeup. Just bare, clean skin.
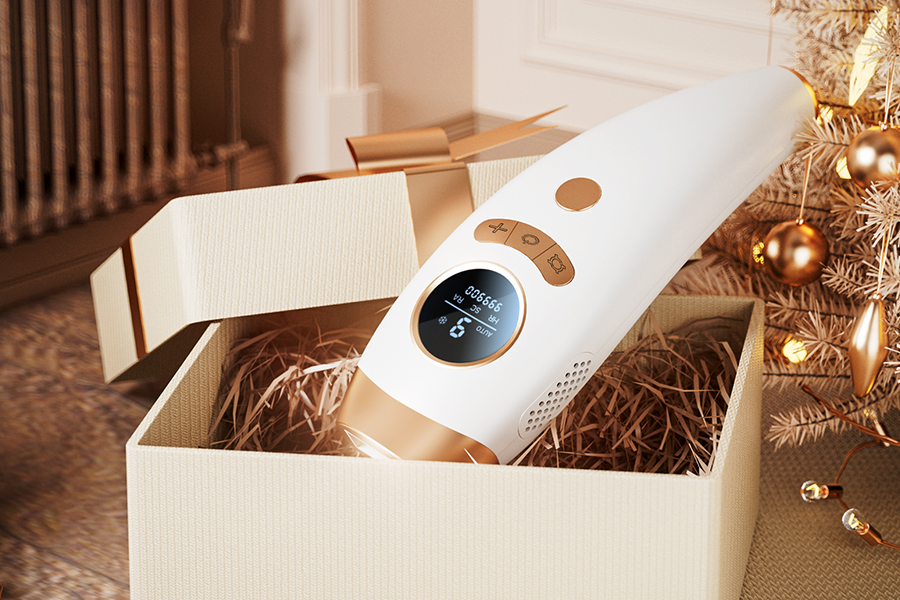
Next, grab your Aopvui device. Check that it’s fully charged or plugged in. You don’t want it dying halfway through. Now, choose the right intensity level. The Aopvui has nine settings, so start low and work your way up to find what’s comfortable for you. It’s all about making sure both you and the device are good to go.
2. Application of the Laser on the Treatment Area
Using the Aopvui laser hair removal is pretty straightforward. Press it against the area where you want to remove hair. Then, press the button to send the laser to work. Move the device around your skin, covering the whole area you’re treating. Imagine you’re giving your skin tiny, light zaps. It doesn’t take long. A few minutes per area and you’re done. Some folks feel a quick pinch, like a rubber band snap, but it’s quick. Remember, it’s normal if your skin turns a bit red right after. It just means the laser did its job.
3. Post-Treatment Care and Precautions
Once you’re done, it’s time to baby your skin. Imagine it’s a bit sunburnt and needs extra love. Avoid the sun for a bit and slap on sunscreen if you’re going out. Your skin is sensitive now, so treat it kindly. No hot baths or heavy workouts for a day or two. Keep it cool and simple.
Also, be patient. You might not see results immediately, but with regular use, you’ll notice less hair growing back. It gets finer and takes longer to show up. Just stick with it, and soon you’ll see the smooth, hair-free skin you’re after.


